The User Registration Form widget of Ultimate Addons for Elementor will allow you to create and design the perfect user registration forms on your site. You will also have the option of redirecting the user, auto-login, and sending an email after successful registration using this widget.
Here are key features for the User Registration Form widget –
- Option to Register only with the Email field
- Form Fields – User Name, First Name, Last Name, Email, Password, Confirm Password
- Also provides Anti-Spam Honeypot protection Form Field and reCAPTCHA feature too
- Register Button customizations
- Column width option for all form fields
- Option to Hide/Show the Label field
- Set the Default User role for user registration form widget
- Hide the form from logged in Users
- Redirect the user to a specific URL after a successful registration
- Auto-Login or Send Email option after a successful registration
- Provides Lost Your Password & Login Page options
- Provides Password Strength Checker option
- Success / Error message customizations
Below are the settings available for the User Registration Form widget –
Form Fields
The first section under the User Registration Form widget will provide you with the options to choose the registration form fields. Here you can only provide the Email field using which users can also Register to your site if required. Read an article on How to Create a User Registration Form with Only Email Field in Elementor?
Other than the Email field you have the options to add User Name, First Name, Last Name, Password, and Confirm Password to your user registration form.
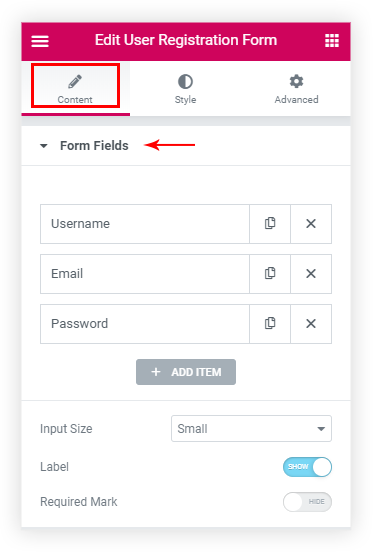
Another important feature we provide is the Honeypot form field, this provides an added level of security to your user registration forms from the spammers and bots. Just add the Honeypot form field and it is done. Simple, right?
You will also be able to set a size for the Form fields from extra small to extra large based on your requirements. And you will find the Required Mark option which can be enabled to add asterisk mark from here to the labels on the form.
After Register Actions
Under the Content Tab, you will see After Register Actions section here you will find various after Registration options like Redirect, Auto-Login, Send Email –
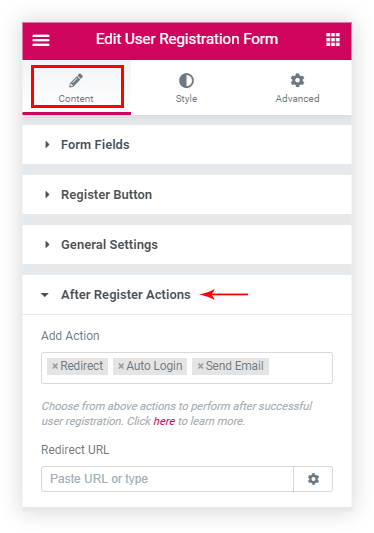
Below are the above-mentioned options with a detailed description –
Redirect
Under the Content Tab > After Register Actions > Add Action select Redirect option and enter the Redirect URL which will redirect the user after Successful registration.
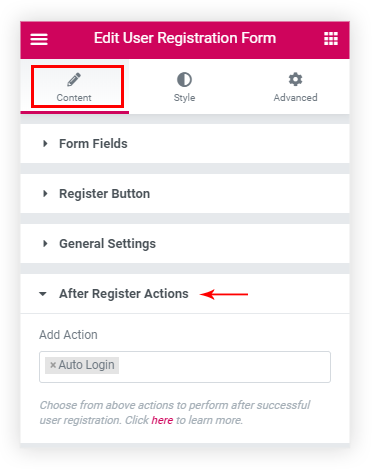
Auto-Login
Under the Content Tab > After Register Actions > Add Action select Auto Login the user after successful registration will be automatically logged in to the site without requiring to log in again.
Send Email
Under the Content Tab > After Register Actions > Add Action select Send Email. On selecting Send Email option the user after successful registration will be sent an Email about their registration on your website.
To customize the Email being sent to the Users you will see the Email section below After Register Actions from where the default option is set to default.
You can also create a User Registration Form having only an email field, send an email to the user containing the Password after a successful registration.
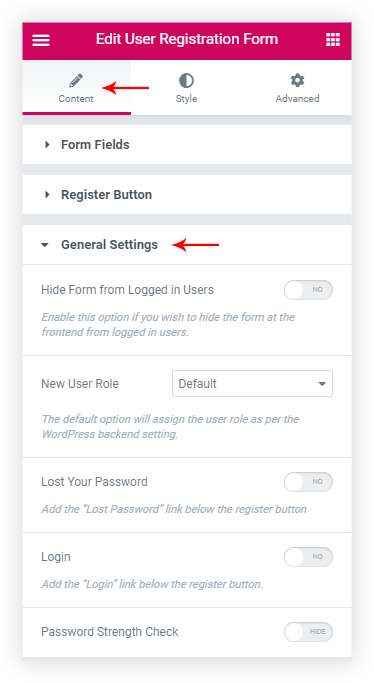
General Settings
You will find the options for displaying fields below the form like – Lost Your Password, Login, Password Strength Checker and options to Style and align them.
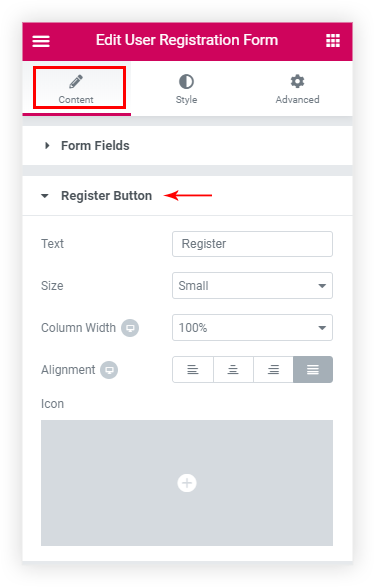
Register Button
Under the Register Button section of the Content tab, you will be able to Customize the Register Button as per your requirements. You can edit the text of the Register Button, set the Size, Alignment, Width and also add an Icon with its positioning before and after the text along with the Icon Spacing between the text.
Success and Error Messages
You have the option to change the Success and Error Messages under the Content tab > Success and Error Messages –

Style the User Registration Form
Under the Style tab, we have different sections like –
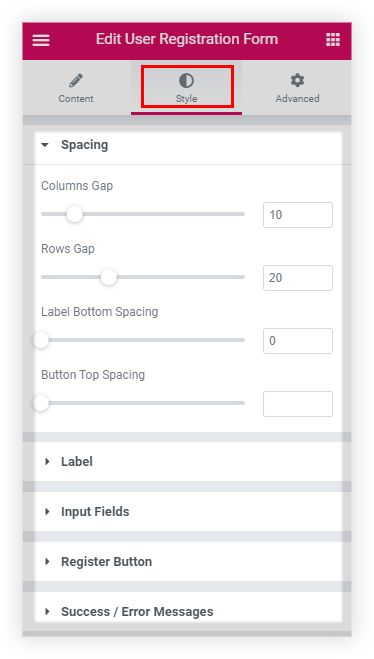
Spacing: You can manage the spacing between the fields,
Label: Set the text color and Typography from here.
Input Fields: From here you can manage the Text Color, Typography, Border settings of the Input Fields.
Register Button: This section will allow you to set the Padding, Typography, Background, and other Border settings.
Success / Error Messages: Set the color styling and Typography for the Success Field Validation and Error Field Validation.